Easy Lake Food Packing Ideas – Delicious & Simple
Packing food to bring to the lake is an art form, and I’m here to help you master it! There’s something undeniably special about a sun-drenched afternoon spent by the water, and the perfect picnic spread elevates the experience from good to unforgettable. We all love those classic lake day foods – the satisfying crunch of a crisp salad, the savory goodness of a well-made sandwich, and of course, something sweet to cap it all off. But what truly makes our packed food stand out is not just the ingredients, but the love and thoughtful preparation that goes into it. It’s about creating portable delights that travel well, resist the heat, and bring smiles to everyone’s faces. This isn’t just about sustenance; it’s about creating memories, one delicious bite at a time, as we enjoy the tranquility of nature.
Discovering Delicious Lake Day Eats
The Ultimate Guide to Packing Food To Bring To The Lake

Packing Food To Bring To The Lake
Heading to the lake is one of my favorite ways to unwind. The sun, the water, the fresh air – it’s pure bliss. But what’s a lake day without some delicious food to fuel our adventures? The key to a successful lake picnic is choosing items that are easy to transport, hold up well in the heat, and are satisfying enough to keep us energized for swimming, kayaking, or just loungin extractg by the shore. I’ve honed my lake food packing skills over the years, and I’m excited to share some of my go-to strategies and recipes with you.
The beauty of lake food is its casual nature. We’re not aiming for Michelin stars here; we’re aiming for delicious, fuss-free enjoyment. The goal is to minimize prep time at the lake and maximize time spent having fun. This means thinking ahead about how things will pack, stay cool, and be served.
Let’s dive into what you’ll need for a fantastic lake food experience!
Ingredients:
Cooking Instructions:
1. Crafting the Ultimate Sandwiches
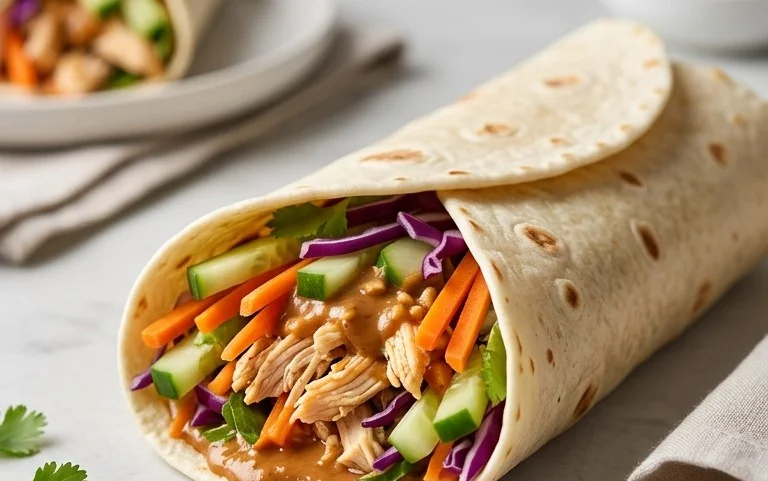
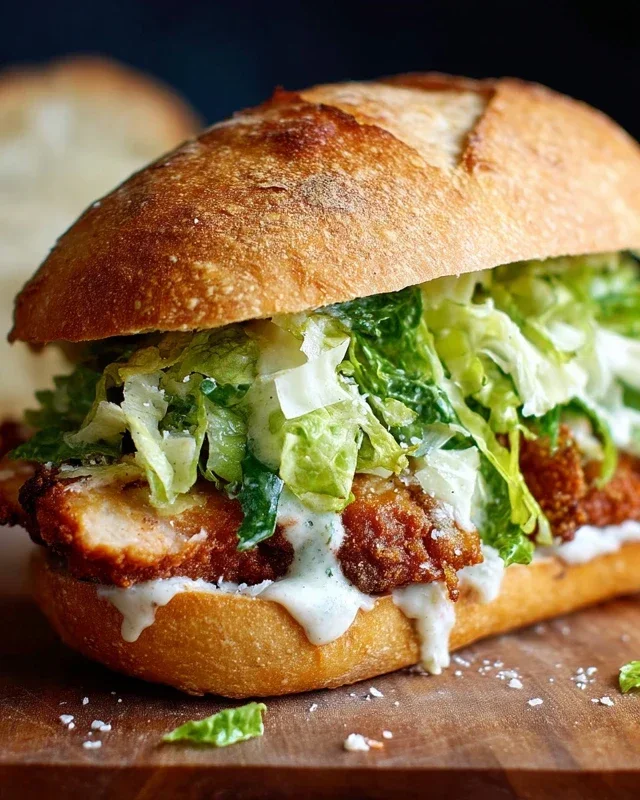
This is where we can get creative and pack some serious flavor. I love making hearty sandwiches that hold up well. Start with sturdy bread that won’t get too soggy. Baguettes are fantastic because their crust provides great structure. For the fillings, layer your deli meats and cheeses generously. I like to add a thin layer of mayonnaise or mustard directly onto the bread to create a barrier against moisture. Then, pile on your lettuce, tomato slices, and red onion. Don’t forget the pickles for that essential salty crunch! If you’re making these ahead, it’s best to pack the wet ingredients (tomatoes, onions, pickles) separately and assemble just before eating if you have the time. However, for simplicity, if you’re consuming them within a few hours, assembling them fully works just fine. Wrap each sandwich tightly in parchment paper or reusable sandwich wraps to keep them fresh and prevent them from falling apart during transport.
2. Assembling a Refreshing Pasta Salad
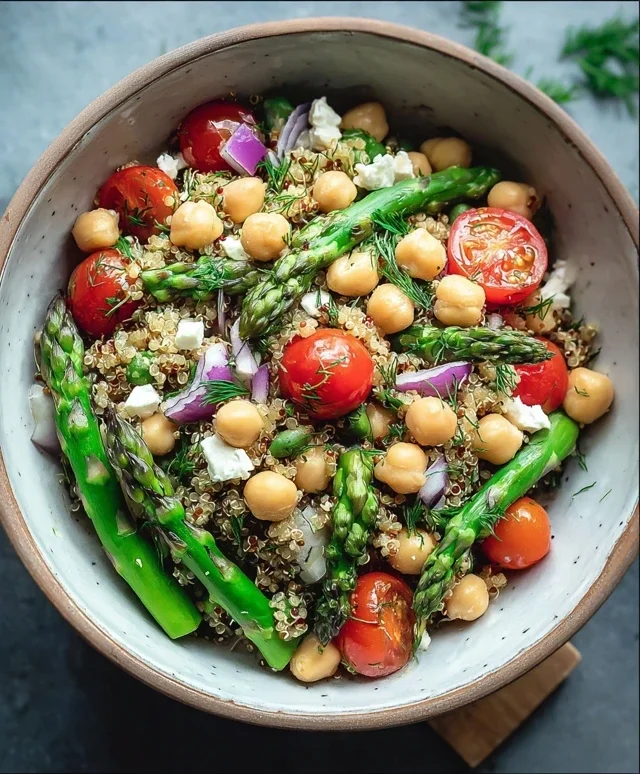
Pasta salad is a lake day cbeef hampion. It’s satisfying, can be made in a big batch, and tastes even better as the flavors meld together. Start by cooking your favorite pasta shape – rotini, penne, or farfalle work wonderfully. Once cooked and cooled, toss it with a medley of chopped fresh vegetables. Think colorful bell peppers, crisp cucumbers, sweet cherry tomatoes, and briny olives. For a Mediterranean flair, some artichoke hearts or sun-dried tomatoes are excellent additions. The dressing is crucial. A good quality Italian dressing is my go-to, as it’s tangy and complements all the vegetables. You can also whip up your own vinaigrette with olive oil, red grape juice vinegar, garlic, and herbs. Make sure to toss everything thoroughly to ensure every bite is coated in dressing. Store this in a large, airtight container. It’s best to keep it chilled, so make sure it’s one of the first things to go into your cooler.
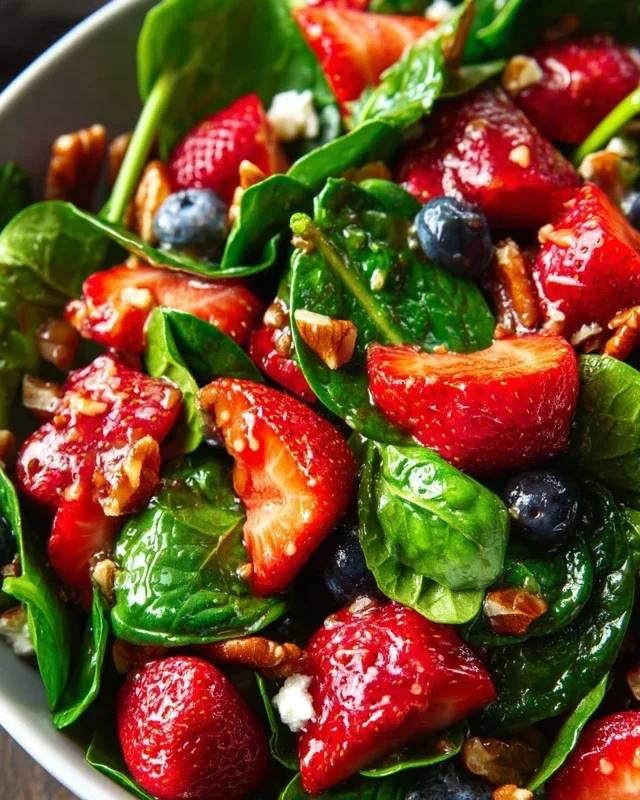
3. Preparing a Vibrant Fruit Salad
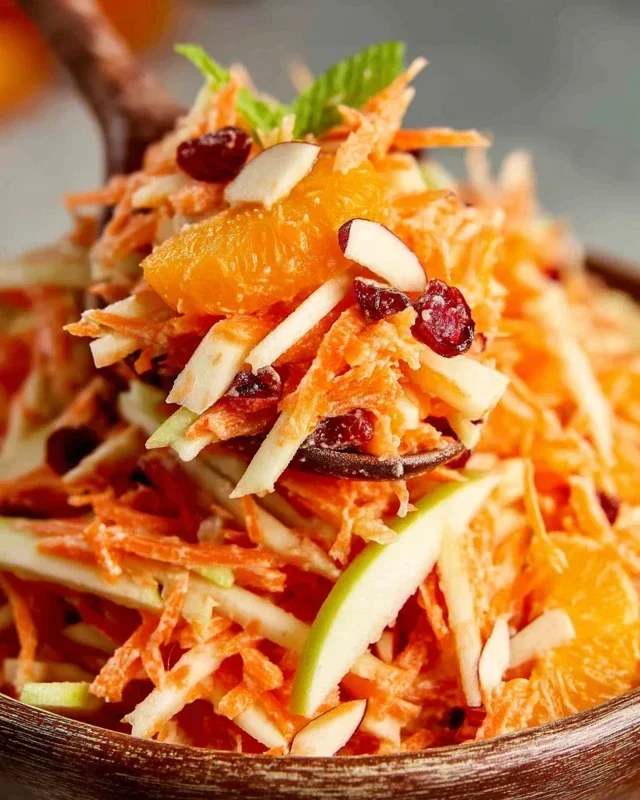
A light and refreshing fruit salad is the perfect antidote to a warm day. Choose fruits that are less prone to bruising and hold their shape well. Berries like strawberries, blueberries, and raspberries are always a hit. Cubes of melon, like watermelon and cantaloupe, are hydrating and sweet. Grapes, whether green or red, add a burst of natural sweetness and are easy to eat. For a tropical twist, add chunks of pineapple. You can toss all the fruits together in a large container. A light squeeze of lime or lemon juice can help prevent some fruits, like apples or bananas (though I tend to avoid these for lake trips due to browning), from oxidizing and also adds a lovely bright flavor. Again, keep this in a well-senon-alcoholic aled container and packed in the cooler.
4. Packing Smart for Optimal Cooling
This is arguably the most important step for a successful lake food expedition. Invest in a good quality cooler or two. For food safety and to keep everything tasting its best, proper chilling is paramount. Use a combination of ice packs and bags of ice. Place your most perishable items, like the deli meats, cheeses, and any pre-made salads, at the bottom of the cooler where it will be coldest. Layer ice packs or bags of ice on top and around the food. If you’re using bags of ice, double-bag them to prevent leaks. For drinks, it’s often helpful to have a separate cooler so you’re not constantly opening the food cooler and letting cold air escape. Fill any empty spaces in the cooler with extra ice or crum extractpled newspaper to further insulate. The goal is to keep the internal temperature of your cooler as low as possible for as long as possible.
5. The Final Touches: Sides, Snacks, and Servings
Beyond the main dishes, don’t forget the supporting players! A bag of crunchy pretzels or a few cans of potato chips are great for salty cravings. Trail mix is a portable energy booster. For hydration, I always pack plenty of water bottles. A large jug of infused water (think cucumber and mint, or lemon and berries) is also a refreshing and healthy option. Remember to pack all the necessary serving items: reusable plates, cutlery, napkins, and any serving spoons for the salads. And, crucially, pack enough trash bags to clean up after yourself and leave the beautiful lake spot as you found it. Organizing your cooler with a checklist can be a lifesaver, ensuring you haven’t forgotten anything vital for your delicious lake feast.
Conclusion:
Bringin extractg delicious, easy-to-prepare food to the lake is key to a perfect day of sun and fun! This collection of recipes offers a fantastic way to ensure your lakeside picnic is a hit, providing refreshing and satisfying options that require minimal fuss and cleanup. We’ve focused on meals that travel well, stay fresh, and are a joy to eat outdoors. Think vibrant salads bursting with flavor, hearty sandwiches that won’t get soggy, and simple snacks everyone will love. Remember, the goal is to spend more time enjoying the water and less time worrying about complicated preparations.
Feel free to adapt these ideas to your personal taste! Swap out ingredients in the salads, experiment with different spreads for the sandwiches, or get creative with your fruit skewers. The possibilities are endless, and the most important ingredient is your enthusiasm for a great day. So pack your cooler, grab your favorite blanket, and get ready to make some wonderful lakeside memories with these fantastic food ideas. We truly encourage you to try them out and discover your new favorite way to dine al fresco!
Frequently Asked Questions:
Can I make these recipes ahead of time?
Absolutely! Most of these recipes are even better when made a few hours or even the night before. This allows the flavors to meld together beautifully. For items like sandwiches, assemble them just before you leave or pack the fillings and bread separately to prevent soggin extractess.
What are some good options for dietary restrictions?
We’ve aimed for versatility. Many of the salads can easily be made vegetarian or vegan by omitting cheese or meat and using plant-based alternatives. For gluten-free needs, opt for gluten-free bread for sandwiches or serve fillings with lettuce wraps. Always check ingredient labels for any hidden allergens.
How do I keep my food cold and safe at the lake?
A good quality cooler with plenty of ice packs or frozen water bottles is essential. Pack perishable items directly next to the ice. Consider using insulated bags for individual meals. Keep the cooler in the shade as much as possible and avoid opening it unnecessarily to maintain a consistent cold temperature.
Lake Day Picnic Pack
A delicious and easy-to-pack meal perfect for a day at the lake, featuring satisfying sandwiches and refreshing sides.
Ingredients
-
2 loaves whole wheat bread
-
1 pound sliced deli turkey
-
8 slices provolone cheese
-
1 pint cherry tomatoes, halved
-
1 cup hummus
-
1 bag tortilla chips
Instructions
-
Step 1
Prepare the sandwiches: Lay out slices of whole wheat bread. Layer with deli turkey and provolone cheese. -
Step 2
Assemble the sandwiches: Top with another slice of bread and cut in half if desired. -
Step 3
Package the cherry tomatoes: Place the halved cherry tomatoes in a small, leak-proof container. -
Step 4
Portion the hummus: Spoon hummus into a separate, resealable container. -
Step 5
Pack the chips: Place the bag of tortilla chips into the picnic basket. -
Step 6
Gather all packed items into a cooler or picnic basket with ice packs for transport.
Important Information
Nutrition Facts (Per Serving)
It is important to consider this information as approximate and not to use it as definitive health advice.
Allergy Information
Please check ingredients for potential allergens and consult a health professional if in doubt.