Baked Zucchini Sticks Oven Air Fryer
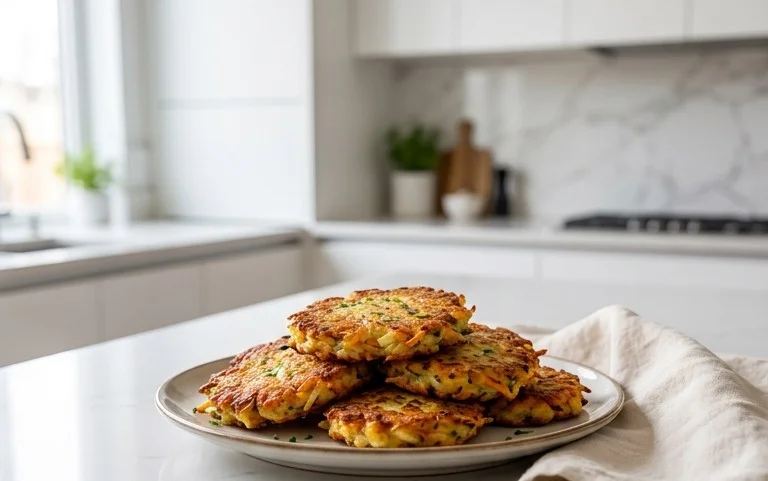
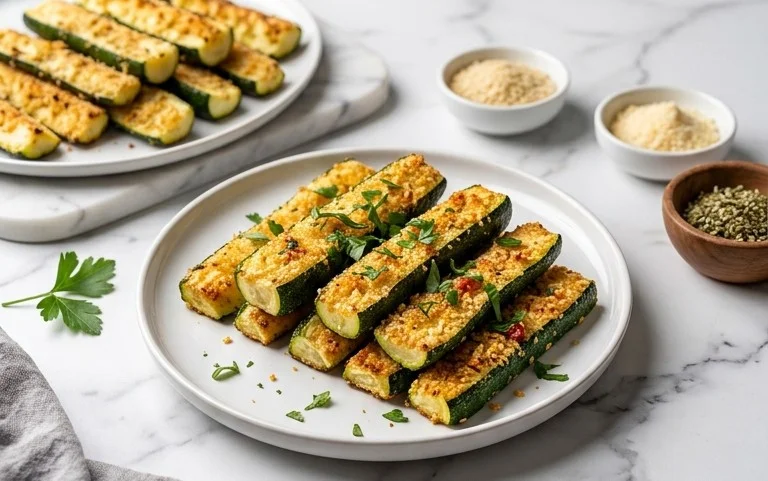
Baked Zucchini Sticks are about to become your new go-to appetizer, side dish, or healthy snack! Are you tired of greasy, fried finger foods that leave you feeling heavy and guilty? I know I was! That’s precisely why I fell in love with this incredible recipe for baked zucchini sticks. They capture all the delicious crispy-on-the-outside, tender-on-the-inside magic of their fried counterparts, but without a drop of excess oil. The secret lies in a simple, flavor-packed coating that gets perfectly golden and satisfyingly crunchy in either your oven or air fryer. This versatility is what makes these baked zucchini sticks so special – whether you’re craving a quick weeknight side or a crowd-pleasing party snack, you can whip up a batch with ease. Get ready to discover your new favorite way to enjoy this humble summer squash!
Baked Zucchini Sticks (Oven or Air Fryer)
There’s something incredibly satisfying about a crispy, golden-brown exterior giving way to a tender, flavorful inside. When you crave that experience but want to keep it a little lighter, these Baked Zucchini Sticks are an absolute game-changer. Forget greasy fried versions; we’re talking about a healthier, yet equally delicious, snack or appetizer that’s surprisingly easy to make. Whether you’re a seasoned cook or just starting out, this recipe is a winner. They’re fantastic on their own, dipped in your favorite sauce, or even served as a side dish. Plus, they’re a brilliant way to get your vegetable intake in without anyone complaining! We’ll cover both oven and air fryer methods, so you can choose the one that best suits your kitchen setup.
Ingredients:
Preparation and Cooking Instructions
This recipe involves a simple three-step breading process that ensures maximum crispiness. The key is to get everything prepped before you start dipping, so you can move efficiently.
Step 1: Prepare the Zucchini
First things first, wash your zucchini thoroughly. Trim off the ends. You have a couple of options for cutting them. For classic “sticks,” cut each zucchini in half lengthwise, then cut each half into roughly ½-inch thick planks. From there, cut those planks into sticks that are about ½-inch wide and 3-4 inches long. Aim for uniformity in size so they cook evenly. If you prefer, you can also cut them into rounds, about ½-inch thick, and then coat them. Once cut, lay the zucchini sticks on paper towels and pat them dry. This is a crucial step! Zucchini has a high water content, and removing excess moisture will help the breading stick better and lead to a crispier result. You can even let them sit on paper towels for about 10-15 minutes to draw out more moisture.
Step 2: Set Up Your Breading Stations
Now, let’s get our breading stations ready. You’ll need three shallow dishes or bowls.
In the first dish, place the ⅓ cup of flour. You can add a pinch of salt and pepper to the flour if you like, but we’ll be seasoning the breadcrum extractb mixture well too.
In the second dish, whisk together the 2 eggs and 1 tablespoon of milk until well combined. This liquid mixture will act as the binder for the breadcrum extractbs. Stir in the minced garlic into the egg mixture. This distributes the garlic flavor throughout the coating.
In the third dish, combine the 1 cup of panko breadcrum extractbs, ½ cup of freshly grated Pecorino Romano or Parmesan cheese, 2 tablespoons of minced fresh parsley, 1 teaspoon of minced fresh oregano, ½ teaspoon of paprika, and a generous pinch of salt and pepper. Stir everything together until the cheese, herbs, and spices are evenly distributed throughout the panko. If you’re using dried herbs, start with ½ teaspoon of each. Taste the mixture and adjust seasoning as needed. Remember, these are going to be the primary flavor holders for your zucchini.
Step 3: The Breading Process
This is where the magic happens! Pick up a zucchini stick (or round) and dredge it first in the flour, tapping off any excess. Make sure it’s lightly coated. Then, dip it into the egg and milk mixture, letting any excess drip off. Finally, place the coated zucchini into the panko mixture, pressing gently to ensure the breadcrum extractbs adhere well all over. You want a nice, even coating. Place the breaded zucchini sticks on a clean plate or baking sheet as you work. Repeat this process for all of your zucchini pieces. Having all your zucchini breaded before you start cooking is essential for a smooth cooking process, especially if you’re baking them.
Step 4: Oven Baking Instructions
Preheat your oven to 400°F (200°C). Line a large baking sheet with parchment paper or a silicone baking mat. This prevents sticking and makes cleanup a breeze. Arrange the breaded zucchini sticks in a single layer on the prepared baking sheet, making sure they are not touching each other. Overcrowding the pan will steam them instead of crisping them up. You may need to use two baking sheets. Drizzle the zucchini sticks lightly with olive oil spray or a very thin stream of olive oil. This helps them achieve that beautiful golden-brown color and extra crispiness. Bake for 18-25 minutes, flipping them halfway through (around the 10-12 minute mark). They are done when they are golden brown and crispy. Keep an eye on them, as oven temperatures can vary.
Step 4 (Air Fryer Alternative): Air Fryer Instructions
If you’re using an air fryer, preheat it to 400°F (200°C) for about 3-5 minutes. Lightly grease the air fryer basket or line it with parchment paper designed for air fryers. Arrange the breaded zucchini sticks in a single layer in the air fryer basket, being careful not to overcrowd it. You will likely need to cook them in batches. Lightly spray the tops of the zucchini with olive oil spray. Air fry for 10-14 minutes, flipping them halfway through the cooking time. The exact time will depend on your air fryer model and how full the basket is. They should be golden brown and crispy.
Step 5: Serve and Enjoy
Once your zucchini sticks are perfectly baked or air-fried, remove them from the oven or air fryer. If you like, sprinkle them with a little extra grated cheese and minced parsley for a lovely garnish. Serve them immediately while they are hot and crispy. A squeeze of fresh lemon juice over the top right before serving is fantastic and cuts through the richness, brightening all the flavors. These are wonderful served with a marinara sauce for dipping, a creamy ranch dressing, or even a spicy aioli. Get creative with your dipping sauces!
These Baked Zucchini Sticks are a testament to how simple, fresh ingredients can create something truly special. They’re addictive, satisfying, and a healthy way to enjoy a crispy, flavorful treat. Enjoy!
Conclusion:
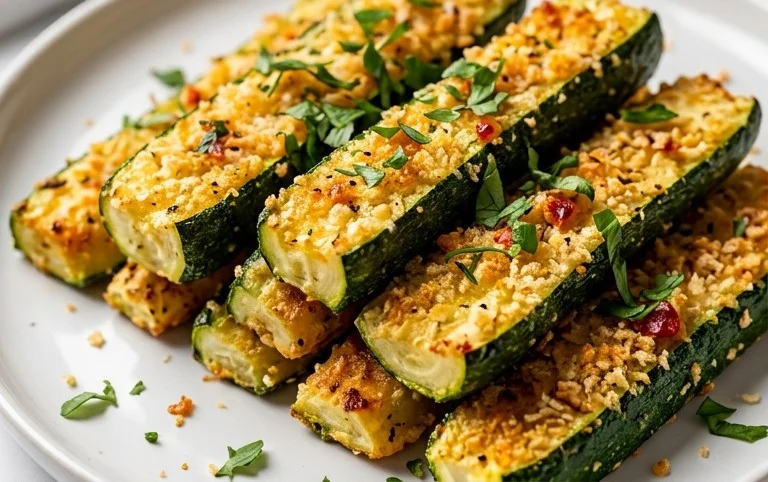
There you have it – a simple yet incredibly satisfying way to enjoy your zucchini! These baked zucchini sticks are a revelation. They offer a wonderfully crispy exterior without the need for deep frying, making them a healthier, guilt-free snack or side dish. Whether you choose the oven or air fryer method, the result is consistently delicious. I love how versatile they are; they’re perfect for dipping into your favorite sauces, adding to a lunchbox, or serving as a crowd-pleasing appetizer. Don’t be afraid to get creative with the seasonings to make these baked zucchini sticks your own!
I truly encourage you to give this recipe a try. You’ll be amazed at how quickly and easily you can whip up this tasty treat. It’s a fantastic way to use up a summer squash surplus or simply to add a vibrant, flavorful element to your meal rotation.
Frequently Asked Questions:
Can I make these ahead of time?
While these are best enjoyed fresh for maximum crispiness, you can prepare the breaded zucchini sticks a few hours in advance and refrigerate them. For the best results, bake or air fry them closer to serving time. They might not be quite as crisp if reheated, but they’ll still be enjoyable.
What kind of dipping sauces go well with baked zucchini sticks?
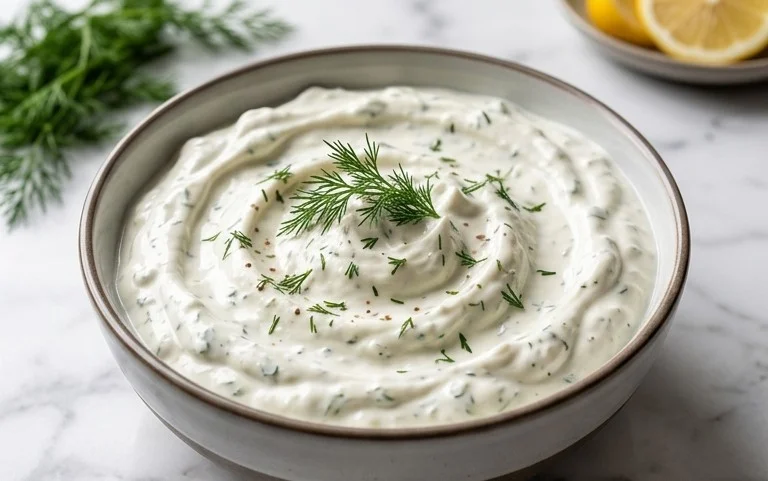
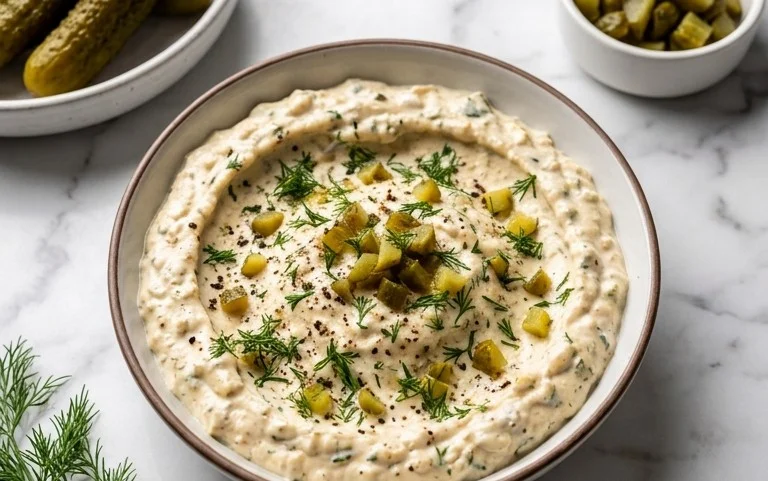
The possibilities are endless! Classic choices like ranch dressing, marinara sauce, or honey mustard are always a hit. For a bit of a kick, consider a spicy aioli or a sriracha mayo. Even a simple lemon-herb yogurt dip can be refreshing.
Can I use a different type of cheese in the breading?
Absolutely! While Parmesan cheese is a fantastic choice for its savory flavor, feel free to experiment with other grated cheeses like Pecorino Romano for a sharper taste or even a blend of your favorite Italian cheeses. Just ensure it’s finely grated for even distribution.
Baked Zucchini Sticks (Oven or Air Fryer)
Crispy baked zucchini sticks, perfect as a healthy appetizer or side dish. Can be made in the oven or air fryer for quick and easy preparation.
Ingredients
-
3 medium zucchini
-
⅓ cup flour
-
2 eggs
-
1 tablespoon milk
-
1-2 cloves garlic (minced)
-
1 cup panko
-
½ cup Pecorino Romano or Parmesan Cheese (freshly grated)
-
2 tablespoons parsley (Italian flatleaf, fresh, minced)
-
1 teaspoon oregano ( fresh , minced)
-
½ teaspoon paprika
-
salt and pepper to taste
-
lemon juice (Optional)
-
additional grated cheese and minced parsley for garnish
Instructions
-
Step 1
Preheat oven to 400°F (200°C) or air fryer to 380°F (190°C). Line baking sheets with parchment paper or spray air fryer basket with cooking spray. -
Step 2
Wash zucchini and trim off the ends. Cut zucchini into 3-4 inch long sticks, about ½ inch thick. -
Step 3
Set up three shallow bowls. In the first, place the flour. In the second, whisk together the eggs and milk. In the third, combine panko, grated cheese, minced garlic, minced parsley, minced oregano, paprika, salt, and pepper. -
Step 4
Dredge each zucchini stick first in the flour, shaking off excess. Then dip into the egg mixture, letting excess drip off. Finally, coat thoroughly with the panko-cheese mixture, pressing gently to adhere. -
Step 5
For oven baking: Place coated zucchini sticks in a single layer on the prepared baking sheets. Bake for 18-22 minutes, flipping halfway through, until golden brown and crispy. -
Step 6
For air frying: Place coated zucchini sticks in a single layer in the air fryer basket, working in batches if necessary. Air fry for 10-14 minutes, flipping halfway through, until golden brown and crispy. -
Step 7
Serve immediately with optional lemon juice for squeezing and garnish with additional grated cheese and minced parsley.
Important Information
Nutrition Facts (Per Serving)
It is important to consider this information as approximate and not to use it as definitive health advice.
Allergy Information
Please check ingredients for potential allergens and consult a health professional if in doubt.