Dairy Free Pesto Recipe – Easy & Delicious
Dairy Free Pesto is a revelation, a vibrant explosion of fresh, herbaceous flavor that’s surprisingly easy to master. For years, I’ve been chasing that classic pesto taste, the bright basil, the pungent garlic, the rich, nutty undertones, but I always felt something was missing for those of us avoiding dairy. Traditional pesto relies on Parmesan cheese to achieve its signature creamy texture and salty kick, and while it’s undeniably delicious, it’s not always the most inclusive dish. That’s where this incredible dairy free pesto recipe comes in. It’s not just a substitute; it’s a culinary triumph that delivers all the beloved characteristics of authentic pesto, proving you don’t need cheese to achieve pesto perfection. Whether you’re vegan, lactose intolerant, or simply looking for a lighter, brighter sauce, this dairy free pesto will become your new go-to for pasta, sandwiches, dips, and so much more.
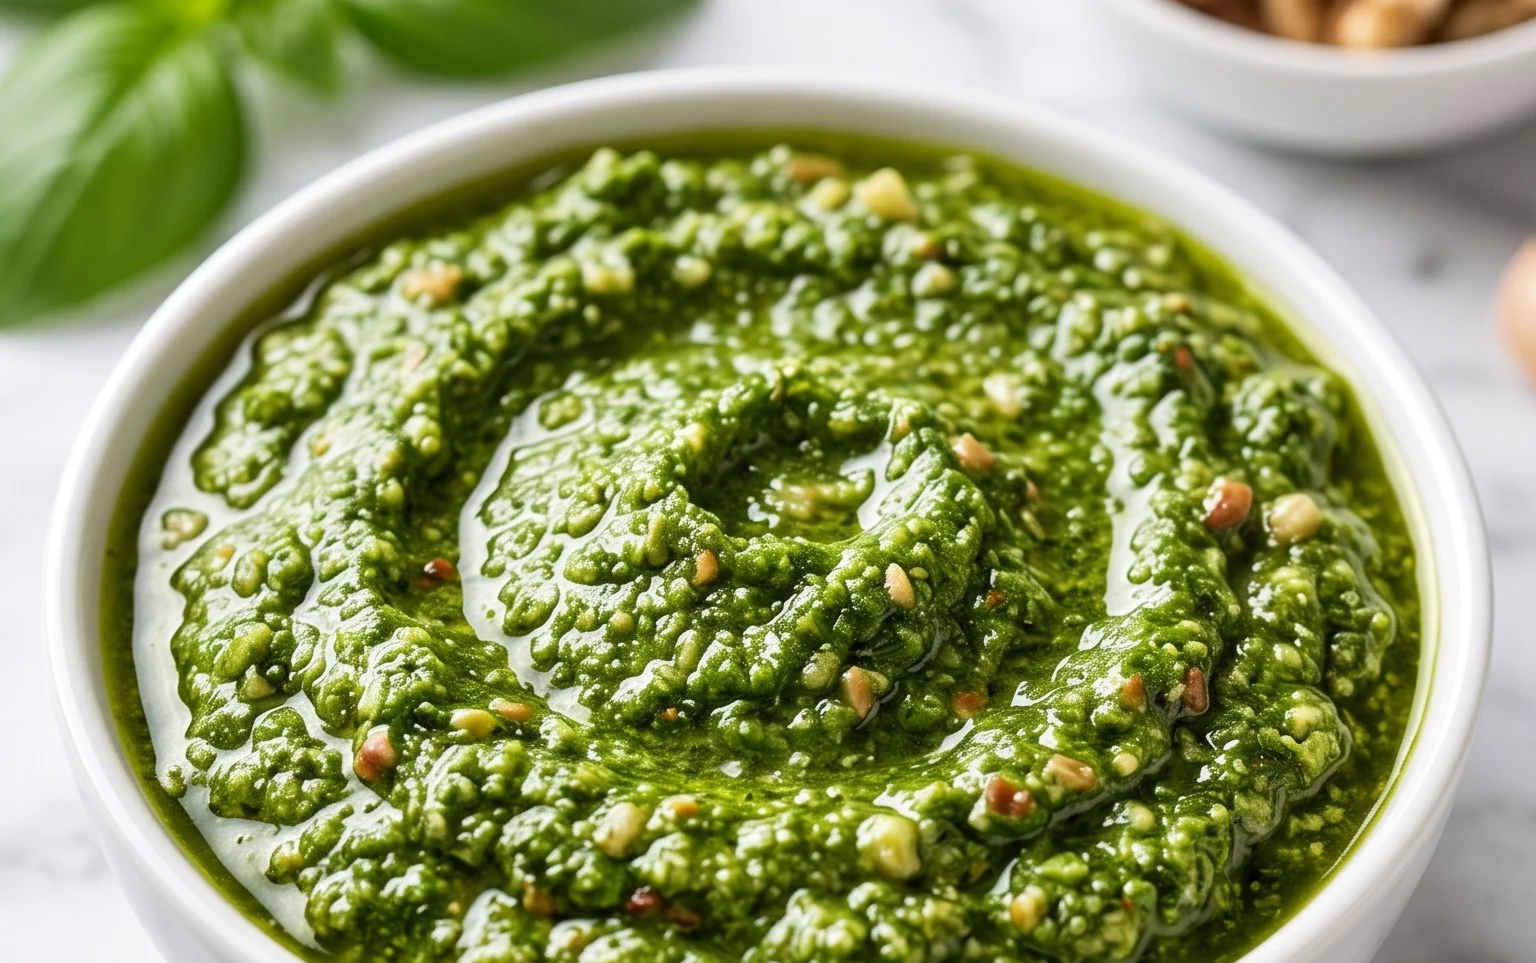
Dairy Free Pesto
Pesto is one of those magical sauces that can elevate almost any dish. Traditionally, pesto is made with Parmesan cheese, but for those of us who are dairy-free, or simply looking for a delicious plant-based option, this dairy-free pesto is an absolute game-changer. It’s vibrant, incredibly flavorful, and surprisingly easy to whip up. Whether you’re tossing it with pasta, spreading it on a sandwich, dolloping it onto roasted vegetables, or using it as a dip, this dairy-free pesto will become a staple in your kitchen. The key to its fantastic flavor, even without the cheese, is the combination of fresh basil, bright lemon, toasty nuts, and the umami kick from nutritional yeast.
This recipe is so adaptable, you can really make it your own. I love using pine nuts for their classic, delicate flavor, but walnuts provide a richer, earthier taste, and pumpkin seeds offer a wonderfully nutty and slightly sweet alternative, especially great if you have a nut allergy. The nutritional yeast is truly the secret weapon for achieving that cheesy, savory depth without any dairy. It’s an inactive yeast that has a naturally cheesy, umami flavor profile, and it’s widely available in health food stores and many larger supermarkets. If you’re not strictly dairy-free and just looking for a change, you could swap it for a good quality Parmesan, but I highly encourage you to give the nutritional yeast a try – you might be surprised at how much you love it!
Let’s get started on creating this incredible, dairy-free pesto. The process is wonderfully straightforward, and the results are truly spectacular.
Ingredients:
Making the Pesto
Step 1: Prepare Your Basil and Nuts
First, we need to get our basil ready. Make sure your basil leaves are fresh and vibrant. Gently wash them and pat them thoroughly dry. Excess water can dilute the flavor of your pesto and also affect its shelf life. You can use a salad spinner or carefully pat them dry with paper towels. For the nuts, if you’re using pine nuts, they’re usually ready to go. However, if you’re opting for walnuts or other nuts, I highly recommend giving them a quick toast. You can do this by spreading them on a dry baking sheet and toasting them in a preheated oven at 350°F (175°C) for about 5-8 minutes, or until they’re fragrant and lightly golden. Keep a close eye on them as nuts can burn very quickly! Toasting brings out their inherent nuttiness and adds another layer of complexity to the pesto. Let them cool completely before using them.
Step 2: Combine the Aromatics and Nuts
Now it’s time to get everything into our food processor. Add the toasted pine nuts (or your chosen nuts/seeds) to the bowl of your food processor. Then, add the peeled garlic cloves. Pulse these a few times until the nuts are roughly chopped and the garlic is minced. We want a good texture here, so don’t over-process them into a paste just yet. This initial pulse helps break down the nuts and garlic, making it easier for the basil to incorporate evenly.
Step 3: Introduce the Basil and Seasonings
Add the packed basil leaves to the food processor with the nuts and garlic. This is where the pesto starts to get its beautiful green color. Now, add the fresh lemon juice. The lemon juice is crucial for brightness and helps to cut through the richness of the olive oil and nuts. If you are using nutritional yeast for that cheesy flavor, add it now. Add the salt as well. You can always adjust the salt and lemon juice later to your taste preferences, so don’t be shy about tasting as you go.
Step 4: Process to Your Desired Consistency
With all the ingredients in the food processor, it’s time to blend. Pulse the mixture several times, scraping down the sides of the bowl as needed. Continue processing until the basil is finely chopped and the mixture starts to come together. This is where the olive oil comes in. With the food processor running on low speed, slowly drizzle in the extra virgin extract olive oil through the feed tube. You want to add just enough oil to create a thick, but pourable, pesto consistency. Some people prefer a chunkier pesto, while others like it smoother. You control the texture by how long you process and how much olive oil you add. If it seems too thick, you can always add a little more olive oil, a tablespoon at a time, until you reach your desired consistency.
Step 5: Taste and Adjust for Perfection
Once you’ve reached your desired texture and the pesto looks beautifully blended, it’s time for the most important step: tasting! Use a clean spoon to taste your pesto. Does it need more salt? A little more brightness from lemon juice? Perhaps a touch more nutritional yeast for a stronger cheesy flavor? Adjust the seasonings as needed. Remember, pesto flavors can intensify slightly as it sits, so err on the side of slightly under-seasoning and then adding more. Once you’re happy with the taste, give it one final quick pulse to combine the adjusted seasonings. Your delicious, dairy-free pesto is now ready to be enjoyed!
This dairy-free pesto is incredibly versatile. It’s perfect for tossing with your favorite pasta, spreading on crusty bread for a bruschetta, layering in sandwiches or wraps, or serving as a vibrant topping for grilled chicken, fish, or roasted vegetables. You can store it in an airtight container in the refrigerator for up to a week, or freeze it in an ice cube tray for longer storage. Enjoy!
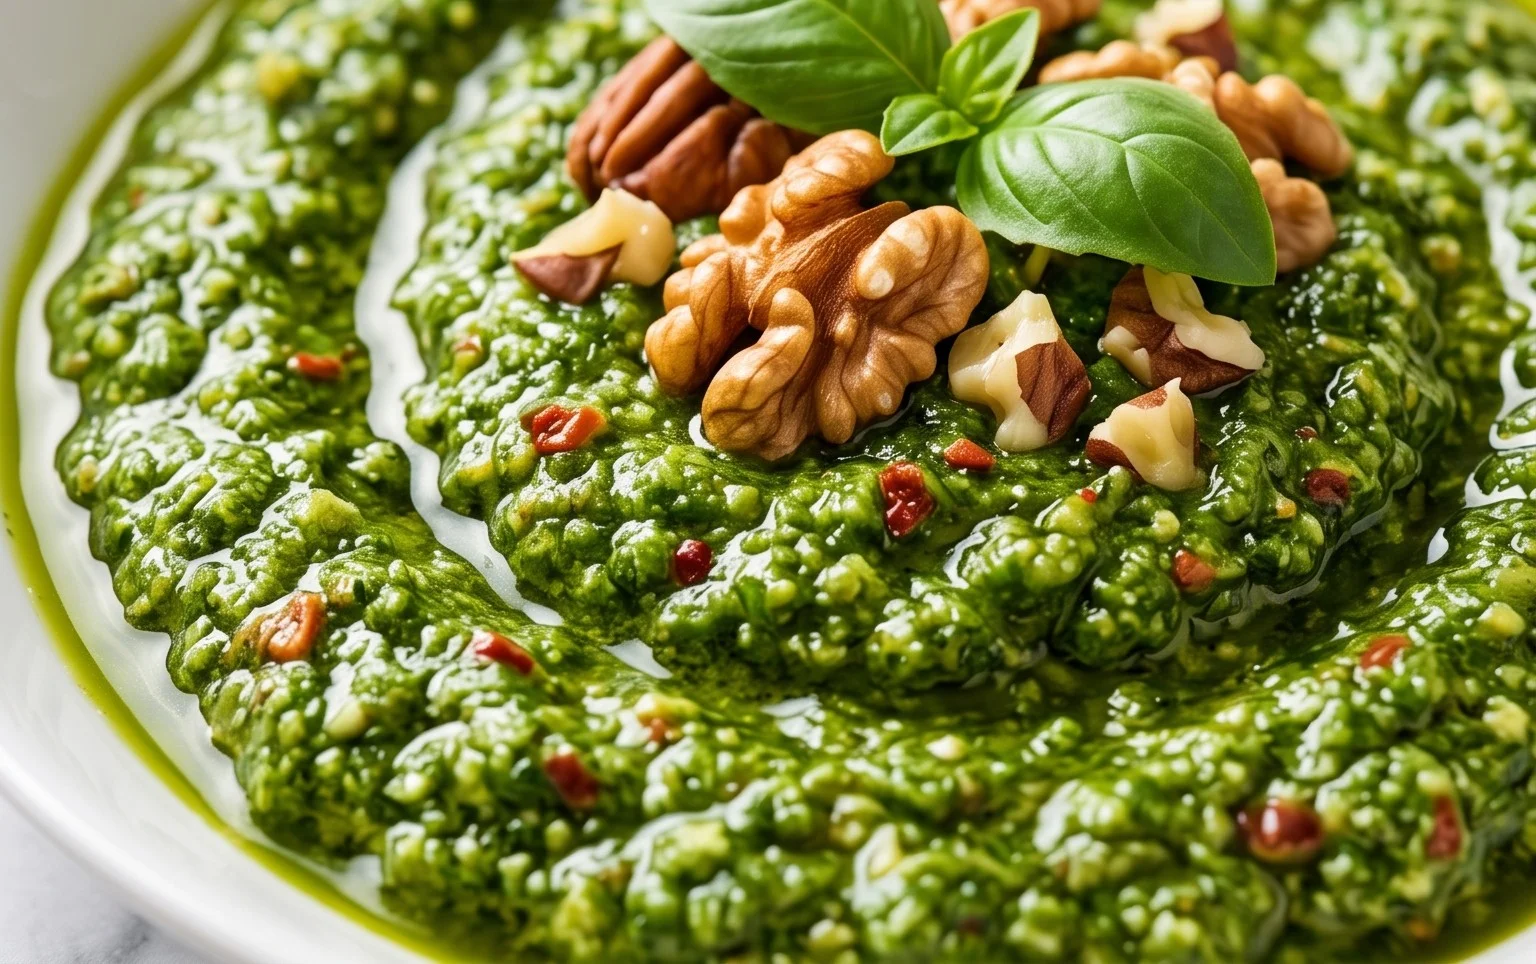
Conclusion:
I hope you’re as excited as I am to dive into this incredibly versatile and delicious dairy free pesto recipe! It’s a game-changer for anyone looking to enjoy that classic vibrant flavor without the dairy. The beauty of this recipe lies in its simplicity and the fresh, zesty notes that come from the basil and garlic, beautifully balanced by the nutty undertones of pine nuts and the richness of olive oil. It’s perfect for elevating everyday meals and impressing guests with a homemade touch.
Don’t be afraid to get creative with how you serve it! This dairy free pesto is fantastic tossed with your favorite gluten-free pasta, spread on crusty bread or crackers, dolloped onto grilled vegetables, or even as a flavorful base for a salad dressing. For variations, try swapping pine nuts for walnuts or almonds, or experimenting with different herbs like parsley or spinach alongside the basil for a unique twist. Give this recipe a try – I promise you won’t be disappointed by how easy and satisfying it is to create this classic sauce from scratch, dairy-free!
Frequently Asked Questions about Dairy Free Pesto:
How long does dairy free pesto last?
When stored properly in an airtight container in the refrigerator, this dairy free pesto will stay fresh for about 5-7 days. Make sure to cover the surface with a thin layer of olive oil to prevent browning.
Can I freeze dairy free pesto?
Absolutely! Freezing is a wonderful way to preserve this delicious dairy free pesto for longer. You can freeze it in ice cube trays for individual portions, or in larger containers. Once frozen, transfer the cubes to a freezer bag. It should be good for up to 3-4 months.
What can I use instead of pine nuts?
If you have a pine nut allergy or simply don’t have them on hand, walnuts are an excellent substitute and provide a similar creamy texture and nutty flavor. Almonds, pecans, or even sunflower seeds can also work wonderfully, each offering a slightly different nuance to your dairy free pesto.
Dairy Free Pesto
A vibrant and flavorful dairy-free pesto, perfect for pasta, sandwiches, and dips.
Ingredients
-
3 cups basil leaves
-
1/2 lemon, juiced
-
1/2 cup pine nuts
-
2 cloves garlic
-
1/4 cup olive oil
-
1/2 tsp salt
-
2 tbsp nutritional yeast
Instructions
-
Step 1
Combine basil, pine nuts, garlic, lemon juice, salt, and nutritional yeast in a food processor. -
Step 2
Pulse until coarsely chopped. -
Step 3
With the food processor running, slowly drizzle in the olive oil until the pesto reaches your desired consistency. -
Step 4
Scrape down the sides of the food processor as needed. -
Step 5
Taste and adjust seasoning if necessary. -
Step 6
Transfer to an airtight container and store in the refrigerator.
Important Information
Nutrition Facts (Per Serving)
It is important to consider this information as approximate and not to use it as definitive health advice.
Allergy Information
Please check ingredients for potential allergens and consult a health professional if in doubt.