Easy Fruit Curd Recipe – Sweet & Tangy Delight
Fruit curd is one of those magical culinary creations that can instantly elevate any dessert. Its silken, tangy, and intensely fruity flavor profile has captivated taste buds for generations, and for good reason! This luscious spread, typically made from fruit juice, sugar, eggs, and butter, offers a delightful balance of sweet and tart that’s simply irresistible. What makes fruit curd so special is its incredible versatility. It’s not just a filling for tarts or a topping for scones; it’s a standalone delight that can be savored by the spoonful. Imagin extracte the vibrant burst of sunshine from a lemon curd, the rich sweetness of a berry curd, or the exotic allure of a passionfruit curd. Each bite is a testament to its simple yet profound ability to transform the ordinary into the extraordinary. I can’t wait to share my secrets for making perfect fruit curd at home.
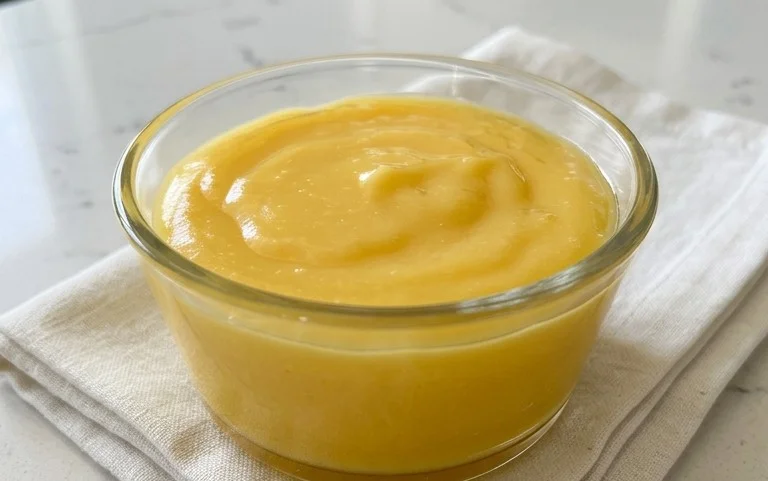
Fruit Curd
There’s something incredibly satisfying about a homemade fruit curd. It’s a luscious, tangy, and sweet spread that elevates everything from toast and scones to yogurt and even acts as a delightful filling for tarts and cakes. While the name might sound a little old-fashioned, the taste is timeless. This recipe focuses on a classic lemon curd, but the principles can be adapted for other fruits like lime, passionfruit, or berries. The magic lies in a simple combination of fruit juice, sugar, eggs, and butter, slowly cooked to a velvety smooth consistency. It requires a bit of patience and gentle heat, but the reward is a jar of sunshine that will brighten any dish.
Let’s get started on creating this delightful condiment.
Ingredients:
Getting Started: The Prep Work
Before you even think about turning on the stove, it’s crucial to have all your ingredients prepped and ready to go. This is especially important for curds, as the cooking process is relatively quick and requires constant attention. First, crack your eggs and egg yolks into a medium-sized bowl. Give them a good whisk until they are thoroughly combined and slightly frothy. Don’t over-whisk them to the point of extreme foam, but ensure there are no distinct streaks of white or yolk visible. In a separate small bowl, measure out your granulated sugar. Next, prepare your lemon juice and zest. It’s best to zest the lemon before juicing it; this way, you maximize the surface area of the lemon for zesting. Use a microplane or a fine grater to get the zest, being careful to only get the yellow part of the peel and avoid the bitter white pith underneath. Once zested, juice your lemons, strain out any seeds, and measure out the required 1/2 cup. Finally, cut your unsalted butter into small, roughly 1-inch cubes. Having the butter ready in small pieces will allow it to melt more smoothly into the curd as it cooks.
The Gentle Cooking Process
This is where the magic happens, and it’s important to be patient and attentive. The key to a perfect curd is gentle, indirect heat. Direct heat can cause the eggs to scramble, resulting in a lumpy, unappetizing texture. Therefore, we’ll be using a double boiler method.
1. Set up your double boiler: Fill the bottom of your double boiler with about 1 to 2 inches of water. You want to ensure that the water level is low enough that it doesn’t touch the bottom of the bowl you’ll be using for the curd. Bring this water to a gentle simmer over medium-low heat. This simmering water will provide a consistent, moderate heat to cook the curd without scorching it.
2. Combine the base ingredients: In the heatproof bowl that fits snugly over your simmering water (without touching it), whisk together the beaten eggs and egg yolks with the granulated sugar. Stir until the sugar is mostly dissolved into the egg mixture. Then, add your fresh lemon juice and lemon zest. Whisk everything together until it’s well combined and you have a smooth, pnon-alcoholic ale yellow liquid.
3. Cook and thicken the curd: Place the bowl over the simmering water. Begin extract to stir the mixture constantly with a whisk or a heatproof spatula. It’s important to keep stirring to prevent the eggs from cooking unevenly. You’ll notice that as the mixture heats up, it will gradually start to thicken. This process can take anywhere from 10 to 20 minutes, depending on the heat of your simmer. Don’t rush this stage. You’re looking for the curd to thicken enough to coat the back of a spoon. A good test is to draw your finger across the back of the spoon; if the line holds and doesn’t immediately run together, your curd is almost ready. Continue to stir constantly, making sure to scrape the bottom and sides of the bowl to prevent any sticking or cooking.
4. Incorporate the butter: Once the curd has thickened to the desired consistency (coating the back of a spoon), remove the bowl from the heat. Now, it’s time to add the butter. Add the cubed butter, one piece at a time, whisking or stirring continuously until each piece is completely melted and incorporated into the curd. The butter adds richness, shine, and a lovely smooth texture. Continue stirring until all the butter has been added and the curd is smooth, glossy, and homogenous.
5. Strain for ultimate smoothness: For the smoothest possible curd, I highly recommend straining it through a fine-mesh sieve into a clean bowl. This step will catch any tiny bits of cooked egg that might have formed, ensuring a silken texture. Press the curd through the sieve with a spatula or the back of a spoon. Once strained, your fruit curd is almost ready to be enjoyed.
Cooling and Storing Your Curd
After you’ve strained your beautifully thickened and glossy curd, it’s important to let it cool down properly. You can cover it directly with plastic wrap, pressing the wrap onto the surface of the curd. This will prevent a skin from forming as it cools. Let it cool at room temperature for about 30 minutes, then transfer it to the refrigerator. It will continue to thicken as it chills. Once fully chilled, it should have a wonderful, spoonable consistency. Store your homemade fruit curd in an airtight container in the refrigerator. It will typically last for about two weeks.
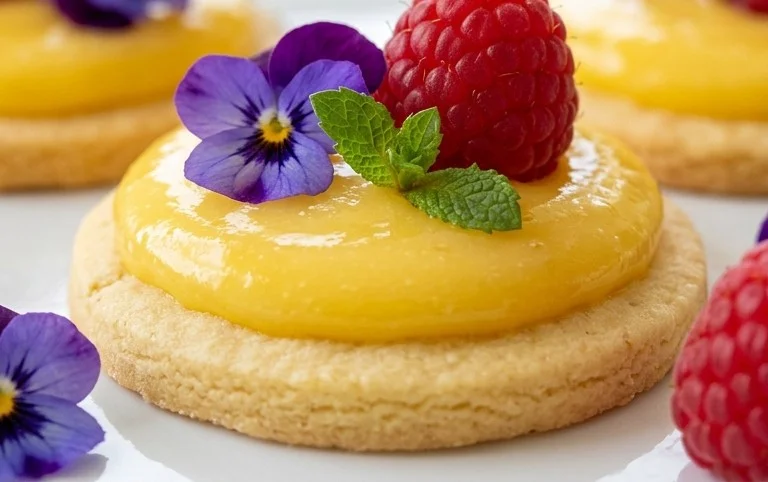
Enjoy your homemade fruit curd slathered on warm toast, dolloped onto yogurt, swirled into ice cream, or as a star filling for a decadent tart. It’s a simple pleasure that brings a burst of sunshine to any occasion.
Conclusion:
I hope you’re as excited as I am to try this delightful fruit curd recipe! It’s truly a triumph of simple ingredients transforming into something incredibly luxurious. The bright, tangy flavor, coupled with its silky smooth texture, makes it a versatile star in your kitchen. Whether you’re a seasoned baker or just starting out, this recipe is approachable and incredibly rewarding. You’ll be amazed at how quickly you can whip up a batch of this vibrant treat.
The possibilities for serving this wonderful fruit curd are endless! Dollop it generously over warm scones, fluffy pancakes, or Belgian waffles. It’s also a perfect filling for tarts, cakes, and macarons, adding a burst of fruity goodness. For a simpler pleasure, enjoy it straight from the spoon or spread it on toasted brioche. Don’t be afraid to experiment with different fruits – lemon and lime are classic, but consider raspberry, passionfruit, or even mixed berries for exciting variations. This recipe is an invitation to explore your creativity!
Frequently Asked Questions:
What is the best way to store fruit curd?
Store your fruit curd in an airtight container in the refrigerator. It will typically last for about a week to 10 days. Ensure it’s well-covered to prevent it from absorbing other odors in your fridge and to maintain its fresh, vibrant flavor.
Can I make fruit curd without eggs?
While traditional fruit curd relies on eggs for its richness and thickening power, you can create delicious dairy-free or egg-free versions. Many recipes substitute cornstarch or agar-agar as thickeners, often using plant-based milk or coconut cream for richness. The texture might be slightly different, but you can still achieve a wonderfully tangy and fruity result.
Fruit Curd
A versatile and tangy fruit curd, perfect for tarts, cakes, or as a simple dessert.
Ingredients
-
1 cup granulated sugar
-
4 large eggs
-
1/2 cup unsalted butter, cut into pieces
-
1/2 cup fresh lemon juice (from about 2-3 lemons)
-
1/4 cup fresh raspberry puree
-
1 teaspoon lemon zest
Instructions
-
Step 1
In a medium saucepan, whisk together the granulated sugar and large eggs until well combined. -
Step 2
Whisk in the fresh lemon juice and raspberry puree. -
Step 3
Place the saucepan over medium-low heat. Cook, whisking constantly, until the mixture thickens enough to coat the back of a spoon, about 8-10 minutes. Do not let it boil. -
Step 4
Remove from heat and whisk in the unsalted butter, a few pieces at a time, until melted and incorporated. -
Step 5
Stir in the lemon zest. -
Step 6
Pour the curd through a fine-mesh sieve into a bowl or jars to remove any cooked egg bits and ensure smoothness. -
Step 7
Cover the surface directly with plastic wrap to prevent a skin from forming. Refrigerate until chilled and set, at least 2 hours.
Important Information
Nutrition Facts (Per Serving)
It is important to consider this information as approximate and not to use it as definitive health advice.
Allergy Information
Please check ingredients for potential allergens and consult a health professional if in doubt.