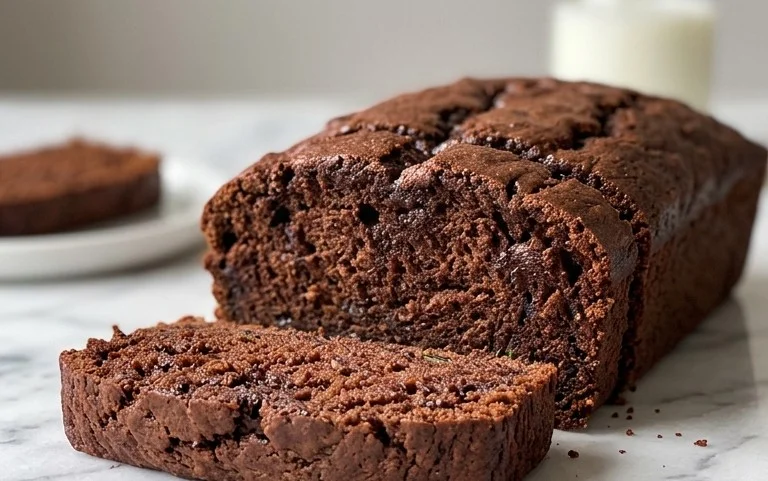
Sourdough Brownies-Fudgy Chewy Dessert Recipe
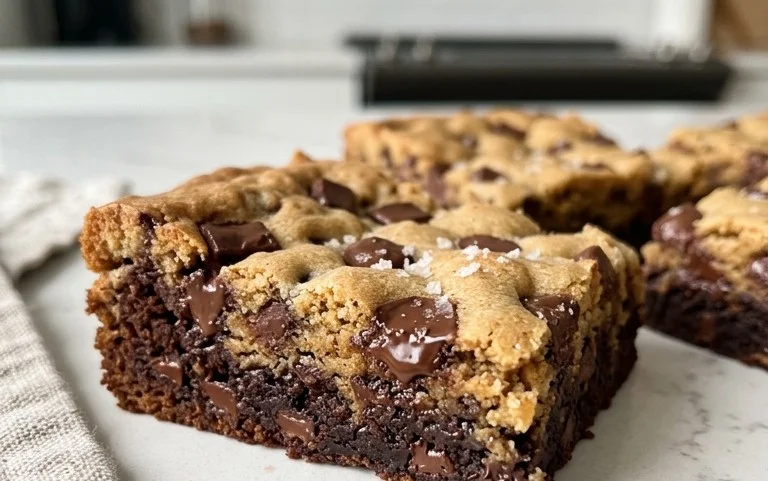
Sourdough brownies are a delightful paradox, a sweet indulgence infused with the subtle tang of fermented goodness. If you’re anything like me, the thought of chewy, fudgy brownies already sends shivers of anticnon-alcoholic ipation down your spine. But what if I told you we could elevate this classic to a whole new level of complexity and deliciousness? That’s where the magic of incorporating sourdough starter comes in. People adore brownies for their comforting familiarity, their rich chocolate flavor, and their perfect texture – that ideal balance of gooey center and slightly crisp edge. What makes these sourdough brownies truly special is the unexpected depth of flavor the sourdough lends. It doesn’t overpower the chocolate; instead, it adds a beautiful nuance, a slight tang that cuts through the sweetness and makes each bite more intriguing and utterly irresistible. Get ready to experience your favorite dessert in a whole new, wonderfully complex way.
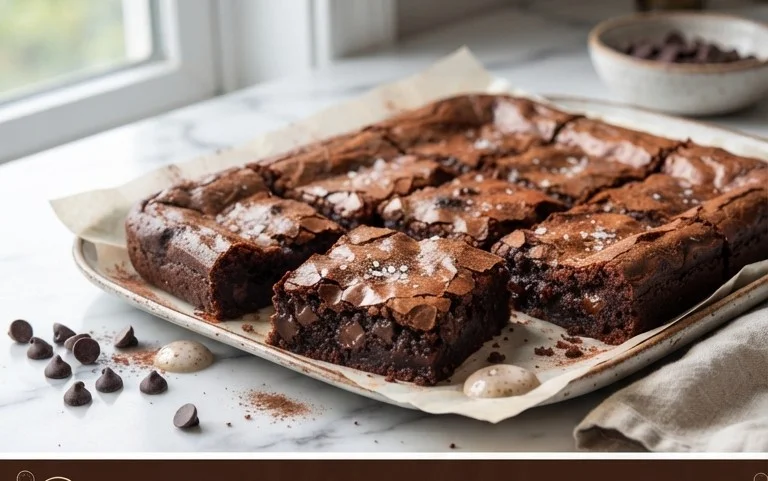
Sourdough Brownies Recipe
There’s something truly magical about sourdough. The tang, the depth of flavor, the incredibly satisfying chew. And while we often associate it with crusty loaves of bread, I’ve discovered a secret weapon in my sourdough starter discard: brownies! Yes, you read that right. These sourdough brownies are unlike any other you’ve ever tasted. They possess a richer, more complex chocolate flavor with a wonderfully fudgy texture and a subtle, delightful tang that cuts through the sweetness. Forget dry, cakey brownies; these are the real deal, and incorporating sourdough starter discard elevates them to a whole new level of deliciousness.
The process is surprisingly simple, and the result is absolutely worth it. You get all the indulgence of a classic brownie with an added layer of sophistication that will have everyone asking for your secret. Don’t have an active sourdough starter? No problem! This recipe is designed to use up that discard, making it a perfect way to reduce waste and create something truly extraordinary. So, let’s get baking!
Ingredients:
Instructions:
First things first, we need to get our chocolate base ready. In a medium-sized, heatproof bowl, combine the 8 tablespoons of unsalted butter and 12 oz. of semi-sweet chocolate chips. You can do this either over a double boiler or in the microwave. If using a double boiler, fill a saucepan with about an inch of water and bring it to a gentle simmer. Place the bowl with the butter and chocolate chips on top, ensuring the bottom of the bowl doesn’t touch the water. Stir occasionally until the butter is melted and the chocolate chips are smooth and fully incorporated. If you’re using the microwave, heat in 30-second intervals, stirring well after each interval, until everything is melted and smooth. This gentle melting process helps prevent the chocolate from scorching. Once melted and glossy, stir in the 1/2 cup of dutched cocoa powder until fully combined and no dry streaks remain. The mixture will become very thick and fudgy. Finally, stir in the 2 teaspoons of vanilla extract. Set this chocolate mixture aside to cool slightly while we prepare the other ingredients. It’s important that it’s not piping hot when we add it to the eggs.
In a separate, large mixing bowl, whisk together the 2 large eggs and the additional egg yolk. We’re using an extra yolk here to contribute to that wonderfully fudgy, dense texture we’re aiming for. Add the 1 cup of granulated sugar and 1/2 cup of dark brown sugar to the eggs. Whisk vigorously for about 2-3 minutes. You’re looking for the mixture to become lighter in color and slightly thickened. This process is called “ribboning” – when you lift the whisk, the batter should fall back into the bowl in thick ribbons that sit on the surface for a few seconds before disappearing. This aeration helps create a tender brownie. Now, it’s time for the sourdough magic! Gently fold in the 1/2 cup of sourdough starter discard. Don’t overmix at this stage; we just want it to be incorporated. The sourdough starter will contribute to the unique flavor and texture of these brownies.
Now it’s time to bring our two delicious mixtures together. Take the slightly cooled chocolate mixture from step 1 and gradually pour it into the egg and sugar mixture from step 2. Gently fold everything together using a spatula until just combined. Again, avoid overmixing. We want to maintain the air we incorporated into the eggs. Once the two mixtures are incorporated, it will look like a rich, glossy batter. This is the point where you can really see the promise of amazing brownies.
In a small bowl, whisk together the 1 cup of all-purpose flour and the 1 teaspoon of salt. The salt is crucial for enhancing the chocolate flavor and balancing the sweetness. Gradually add the dry ingredients to the wet chocolate mixture. Fold them in with your spatula until just combined and no dry streaks of flour are visible. Be careful not to overmix, as this can develop the gluten in the flour too much, leading to tougher brownies. Overmixing at this stage is a common brownie mistake! The batter will be quite thick and fudgy. Preheat your oven to 350°F (175°C). Grease and line an 8×8 inch baking pan with parchment paper, leaving an overhang on the sides to make it easier to lift the brownies out once they’re baked. Pour the batter into the prepared pan and spread it evenly with your spatula. For an extra touch, you can sprinkle a few more chocolate chips on top before baking, if you like.
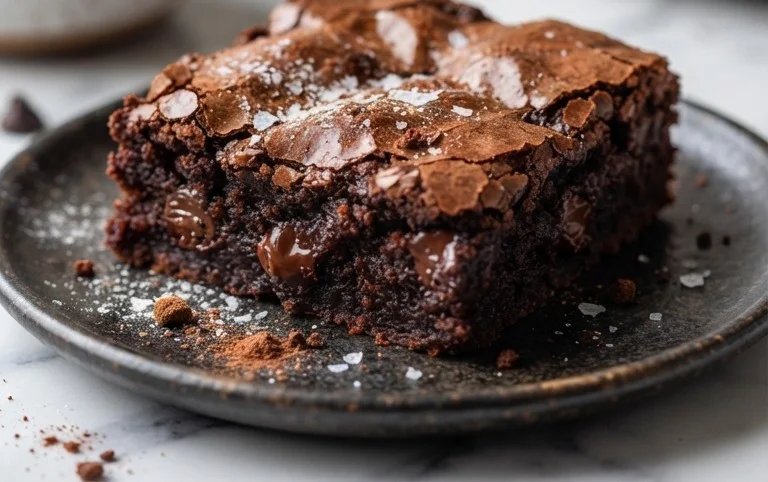
Bake the sourdough brownies in the preheated oven for 25-30 minutes. The baking time can vary depending on your oven, so keep an eye on them. You’ll know they’re ready when the edges are set and a toothpick inserted into the center comes out with moist crum extractbs attached, but not wet batter. It’s better to slightly underbake than overbake for that perfectly fudgy texture. A slightly gooey center is the goal! Once baked, remove the pan from the oven and let the brownies cool completely in the pan on a wire rack. This cooling step is absolutely critical for fudgy brownies. As they cool, they will continue to set. Resist the temptation to cut into them too early! Once completely cooled, use the parchment paper overhang to lift the brownies out of the pan. For clean cuts, I recommend chilling the brownies in the refrigerator for at least 30 minutes to an hour before slicing. This makes them much easier to cut into neat squares. Enjoy your incredibly delicious, tangy, and fudgy sourdough brownies!
Conclusion:
So there you have it – your guide to making incredibly delicious sourdough brownies! This recipe is a game-changer, offering a depth of flavor and a delightful chewy texture that traditional brownies simply can’t match. The subtle tang from the sourdough starter beautifully complements the rich chocolate, creating a sophisticated and utterly satisfying treat. Whether you’re a seasoned sourdough baker or looking to embark on a new culinary adventure, these sourdough brownies are incredibly rewarding and surprisingly approachable. Imagin extracte serving these warm, perhaps with a scoop of vanilla bean ice cream or a sprinkle of flaky sea salt – pure bliss!
Don’t be afraid to get creative with variations! Consider adding a handful of chocolate chips (dark, milk, or white!), a sprinkle of chopped nuts for extra crunch, or even a swirl of raspberry jam for a burst of fruity contrast. I truly encourage you to give this sourdough brownie recipe a try. You might just discover your new favorite dessert. Happy baking!
Frequently Asked Questions about Sourdough Brownies:
Can I use active sourdough starter or discard?
You can use either active, fed sourdough starter or sourdough discard for this recipe. If using active starter, it might contribute a slightly more pronounced tang. Sourdough discard will still provide that lovely subtle complexity and chewy texture.
How should I store leftover sourdough brownies?
Store your sourdough brownies in an airtight container at room temperature for up to 3 days. For longer storage, you can refrigerate them, and they are also excellent for freezing. Just thaw them at room temperature before enjoying.
What if I don’t have sourdough starter?
While the sourdough starter is the star that gives these brownies their unique character, you can adapt this recipe to be a more traditional brownie by omitting the starter and increasing the flour slightly. However, you’ll miss out on the signature tang and texture that makes these so special!
Sourdough Brownies
Rich and fudgy brownies with a tangy sourdough twist, perfect for any chocolate lover.
Ingredients
-
8 tablespoons unsalted butter
-
12 oz. semi sweet chocolate chips
-
1/2 cup dutched cocoa powder
-
2 teaspoons vanilla extract
-
2 large eggs
-
1 egg yolk
-
1 cup granulated sugar
-
1/2 cup dark brown sugar
-
1/2 cup sourdough starter discard
-
1 cup all-purpose flour
-
1 teaspoon salt
Instructions
-
Step 1
Preheat oven to 350°F (175°C). Grease and flour a 9×13 inch baking pan, or line with parchment paper. -
Step 2
In a heatproof bowl set over a saucepan of simmering water (or in the microwave), melt the butter and 8 oz. of the semi sweet chocolate chips. Stir until smooth. Remove from heat and stir in the cocoa powder and vanilla extract. -
Step 3
In a separate large bowl, whisk together the eggs, egg yolk, granulated sugar, and dark brown sugar until well combined and slightly thickened. -
Step 4
Gently whisk the melted chocolate mixture into the egg mixture. Stir in the sourdough starter discard until just combined. -
Step 5
In a small bowl, whisk together the all-purpose flour and salt. Gradually fold the dry ingredients into the wet ingredients until just combined. Fold in the remaining 4 oz. of semi sweet chocolate chips. -
Step 6
Pour the batter into the prepared baking pan and spread evenly. Bake for 25-30 minutes, or until a toothpick inserted into the center comes out with moist crumbs attached. -
Step 7
Let the brownies cool completely in the pan before cutting into squares.
Important Information
Nutrition Facts (Per Serving)
It is important to consider this information as approximate and not to use it as definitive health advice.
Allergy Information
Please check ingredients for potential allergens and consult a health professional if in doubt.