Best Soft Chocolate Chip Cookies Recipe
The Best Soft Chocolate Chip Cookies are more than just a treat; they are a gateway to pure, unadulterated happiness. We all have memories tied to that perfect cookie – warm from the oven, with gooey chocolate chips and that irresistible chew. It’s that comforting, nostalgic feeling that makes chocolate chip cookies a perennial favorite, a classic for a reason. But what elevates a good cookie to the absolute pinnacle? It’s a delicate balance of ingredients, a whisper of secret techniques, and a whole lot of love. Forget those dry, crum extractbly imposters. Today, we’re diving deep into the art of crafting the best soft chocolate chip cookies, the kind that will have everyone beggin extractg for the recipe. Get ready to achieve that perfect texture that melts in your mouth, leaving you wanting just one more (or maybe two!).
The Best Soft Chocolate Chip Cookies
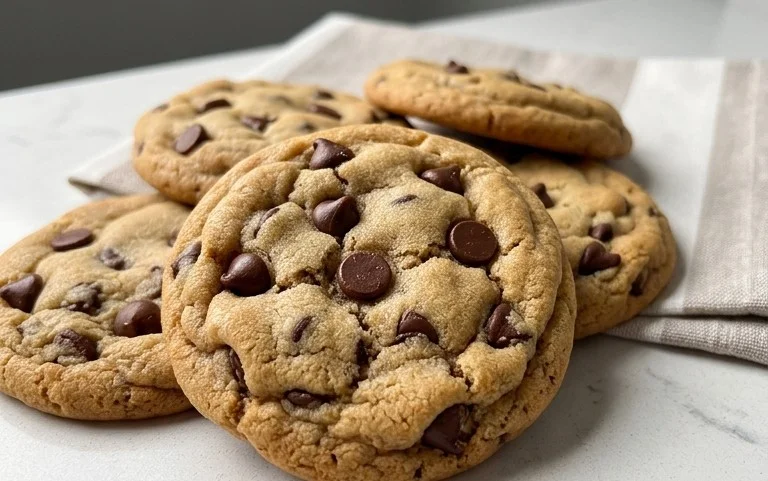
There are few things in life as universally beloved and comforting as a warm, soft chocolate chip cookie. For years, I’ve tinkered and tested, striving to achieve that perfect balance of chewy center, slightly crisp edges, and an abundance of gooey chocolate. Today, I’m thrilled to share my go-to recipe for what I confidently call “The Best Soft Chocolate Chip Cookies.” These aren’t just good; they’re transcendent. They’re the cookies that will have your friends and family beggin extractg for the recipe, and honestly, I’m happy to share because they’re surprisingly simple to make. The secret lies in a few key techniques and, of course, high-quality ingredients.
Ingredients:
Getting Started: The Foundation of Flavor
The first crucial step to achieving those perfect cookies is the proper preparation of your butter and sugars. It’s not just about mixing them; it’s about creaming them to incorporate air, which is essential for a light and tender cookie.
1. Ensure your 8 tablespoons of salted butter are softened to room temperature. This means they should be pliable but not melted. If you forgot to take them out of the fridge in advance, you can gently warm them by cutting them into smaller pieces and placing them on a microwave-safe plate, then microwaving on 10% power in 10-second intervals, checking frequently. Over-softened or melted butter will lead to flat, greasy cookies, so take your time here. In a large mixing bowl, combine the softened butter with 1/2 cup of white sugar, and my personal favorite, 1/4 cup of packed light brown sugar. The combination of white and brown sugar is key. The brown sugar, with its molasses content, contributes to that desirable chegrape juicess and adds a subtle caramel note. I prefer using a raw cane sugar for my white sugar as its coarser crystals provide a pleasant textural contrast and a slightly more complex sweetness. Now, using an electric mixer on medium speed, or a sturdy whisk and some arm power, cream these ingredients together for about 3-5 minutes. You’re looking for a light, fluffy, pnon-alcoholic ale yellow mixture. This step is critical for aeration, which will help your cookies rise and maintain their soft texture.
2. Once your butter and sugar are beautifully creamed, it’s time to add the wet ingredients. Beat in 1 teaspoon of vanilla extract. The vanilla is more than just a scent; it enhances all the other flavors in the cookie. Then, crack in 1 large egg. Mix on low speed until just combined. It’s important not to overmix at this stage, as that can also develop the gluten in the flour too much, leading to tougher cookies. You want the egg to be fully incorporated without going overboard. Scrape down the sides of the bowl to ensure everything is evenly mixed.
The Dry Mix: Building the Structure
Now we move on to the dry ingredients, the backbone of our cookie. The ratio of flour to leavening agents is paramount for achieving the right texture.
3. In a separate medium bowl, whisk together 1 1/2 cups of all-purpose flour (which is approximately 6.75 ounces, so weighing it is always a good idea for accuracy). To this, add 1/2 teaspoon of baking soda. Baking soda is your primary leavening agent here, responsible for that characteristic spread and lift. It also contributes to the browning of the cookies. Next, add 1/4 teaspoon of salt. Now, confession time: I am a firm believer that a little extra salt in a chocolate chip cookie elevates all the flavors, especially the sweetness of the chocolate. So, while the recipe calls for 1/4 teaspoon, I usually add just a tiny pinch more. Whisk these dry ingredients thoroughly to ensure the baking soda and salt are evenly distributed. This prevents pockets of salty or bitter cookie.
Bringin extractg It All Together: The Magic Happens
This is where the dough truly comes to life. The gentle incorporation of the dry ingredients into the wet is crucial for maintaining that desired soft texture.
4. Gradually add the dry ingredients to the wet ingredients in the large bowl. Mix on low speed until just combined. Again, resist the urge to overmix! You should see streaks of flour, and once those streaks are almost gone, stop mixing. Overmixing will develop the gluten in the flour, resulting in tough, dense cookies instead of soft, chewy ones. A few visible streaks of flour are perfectly acceptable; the remaining mixing will happen when you add the chocolate.
5. Now for the best part: the chocolate! Gently fold in 3/4 cup of chocolate chips. I absolutely love using a combination of both classic chocolate chips and larger chocolate chunks. The chips tend to melt into gooey puddles, while the chunks offer satisfying bites of pure chocolate. The folding action, using a spatula or wooden spoon, ensures the chocolate is evenly distributed without further developing the gluten in the flour. Don’t overmix; just ensure the chocolate is distributed throughout the dough.
Baking to Perfection: The Final Frontier
The final stage is all about temperature, time, and a touch of intuition. These cookies are best served warm, so patience will be rewarded!
Baking and Cooling
Preheat your oven to 375 degrees Fahrenheit (190 degrees Celsius). Line baking sheets with parchment paper to prevent sticking and ensure even baking. Using a cookie scoop or two spoons, drop rounded tablespoons of dough onto the prepared baking sheets, leaving about 2 inches of space between each cookie to allow for spreading. For wonderfully soft cookies, I often slightly underbake them. Bake for 9-11 minutes, or until the edges are lightly golden brown and the centers still look slightly underdone. They will continue to set as they cool. For that extra chewy texture, I highly recommend chilling the dough for at least 30 minutes before baking. This allows the fats to solidify and the flavors to meld. Once baked, let the cookies cool on the baking sheet for 5 minutes before transferring them to a wire rack to cool completely. This resting period is crucial for them to firm up properly without becoming hard. Enjoy these warm, gooey, and utterly irresistible soft chocolate chip cookies!
Conclusion:
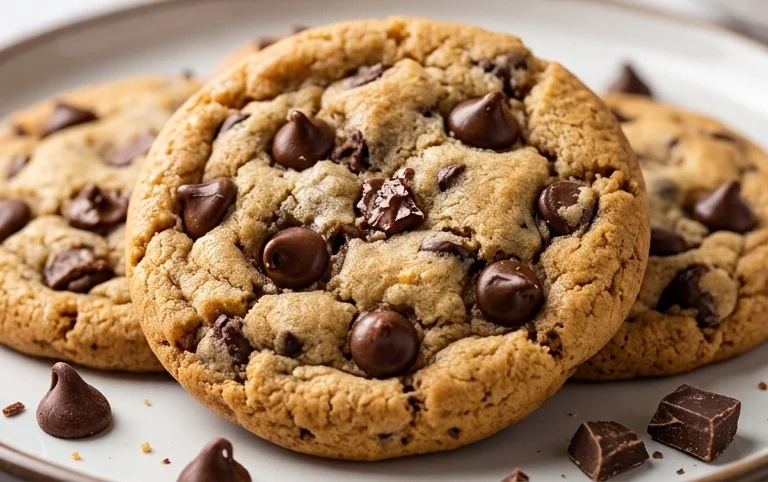
I truly believe that this recipe for the best soft chocolate chip cookies delivers on its promise. The magic lies in the balance of ingredients, the simple chilling step, and the precise baking time, all contributing to that irresistible chewy center and perfectly crisp edge. These aren’t just cookies; they’re little moments of pure joy, perfect for sharing (or not!).
I love serving these warm, straight from the oven, with a tall glass of cold milk – it’s a classic for a reason! They’re also fantastic alongside a cup of coffee or tea for an afternoon treat. For a touch of decadence, try crum extractbling one over a scoop of vanilla ice cream.
Don’t be afraid to get creative with variations! Adding a sprinkle of sea salt on top just before baking enhances the chocolate flavor beautifully. You could also try incorporating chopped nuts like walnuts or pecans, or even a swirl of caramel into the dough. The possibilities are endless, and I encourage you to experiment and make these your best soft chocolate chip cookies.
Frequently Asked Questions:
Why are my cookies spreading too much?
This can happen if your butter is too soft or melted when you start creaming it with the sugar. Ensure your butter is at room temperature but still holds its shape. Also, chilling the dough for at least 30 minutes is crucial for preventing excessive spreading.
Can I make the dough ahead of time?
Absolutely! The dough can be made and stored in the refrigerator for up to 3 days. The flavors actually deepen and meld beautifully over time, leading to even more delicious cookies. Just bring the dough to room temperature slightly before scooping and baking.
What’s the best way to store these cookies?
To keep them perfectly soft, store cooled cookies in an airtight container at room temperature. You can also place a slice of bread in the container; it helps to maintain moisture and keep the cookies wonderfully chewy for several days.
The Best Soft Chocolate Chip Cookies
Indulge in these incredibly soft and chewy chocolate chip cookies, a guaranteed crowd-pleaser for any occasion.
Ingredients
-
8 tablespoons of salted butter, softened
-
1/2 cup white sugar
-
1/4 cup packed light brown sugar
-
1 teaspoon vanilla extract
-
1 large egg
-
1 1/2 cups all purpose flour
-
1/2 teaspoon baking soda
-
1/4 teaspoon salt
-
3/4 cup chocolate chips
Instructions
-
Step 1
Preheat your oven to 375°F (190°C). Line baking sheets with parchment paper. -
Step 2
In a large bowl, cream together the softened salted butter, white sugar, and light brown sugar until light and fluffy. -
Step 3
Beat in the vanilla extract and the egg until well combined. -
Step 4
In a separate medium bowl, whisk together the all-purpose flour, baking soda, and salt. -
Step 5
Gradually add the dry ingredients to the wet ingredients, mixing until just combined. Do not overmix. -
Step 6
Stir in the chocolate chips. For optimal results, ensure chocolate chips are evenly distributed throughout the dough. -
Step 7
Drop rounded tablespoons of dough onto the prepared baking sheets, spacing them about 2 inches apart. -
Step 8
Bake for 9-11 minutes, or until the edges are golden brown and the centers are still slightly soft. -
Step 9
Let the cookies cool on the baking sheets for a few minutes before transferring them to a wire rack to cool completely.
Important Information
Nutrition Facts (Per Serving)
It is important to consider this information as approximate and not to use it as definitive health advice.
Allergy Information
Please check ingredients for potential allergens and consult a health professional if in doubt.